The Lift
After the first flights and test period, we flown the plane to an smaller airfield. This saves me money and is a bit closer from where I live.
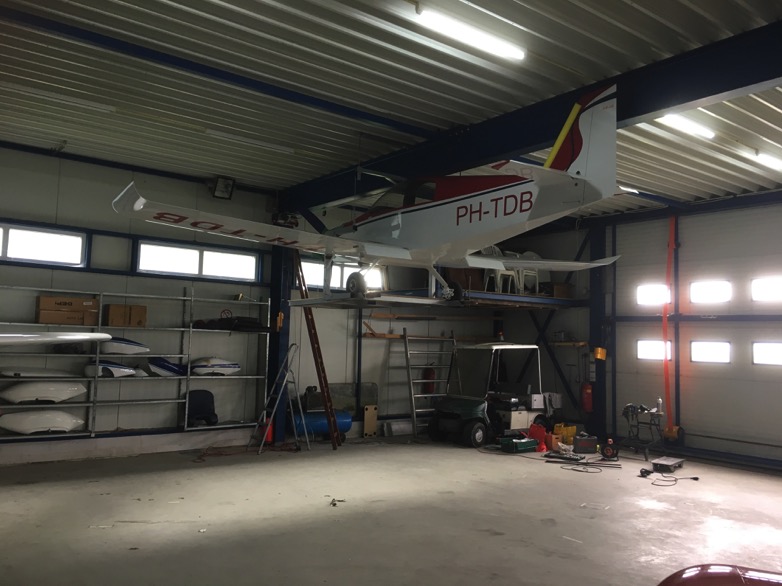
To save extra hangar costs we designed an elevator to hoist the plane. This saves me some money, but also minor chance of damage to the plane.
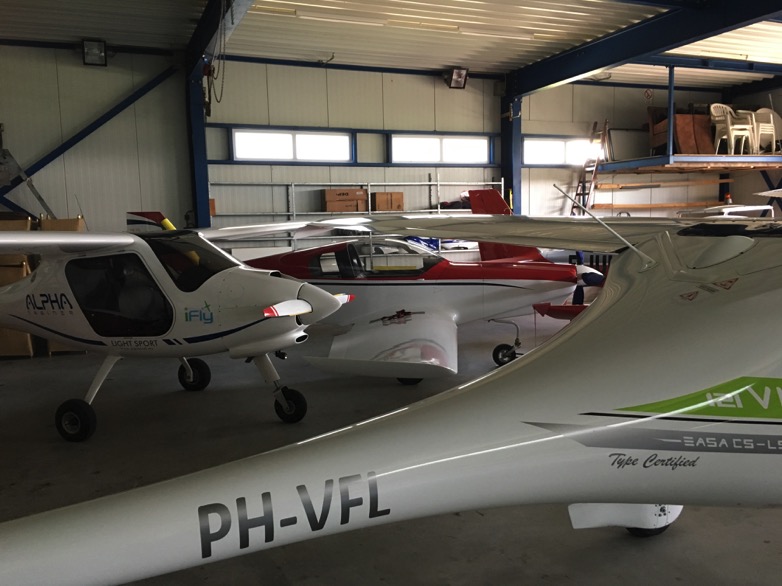
This is how the plane was parked the first few weeks.
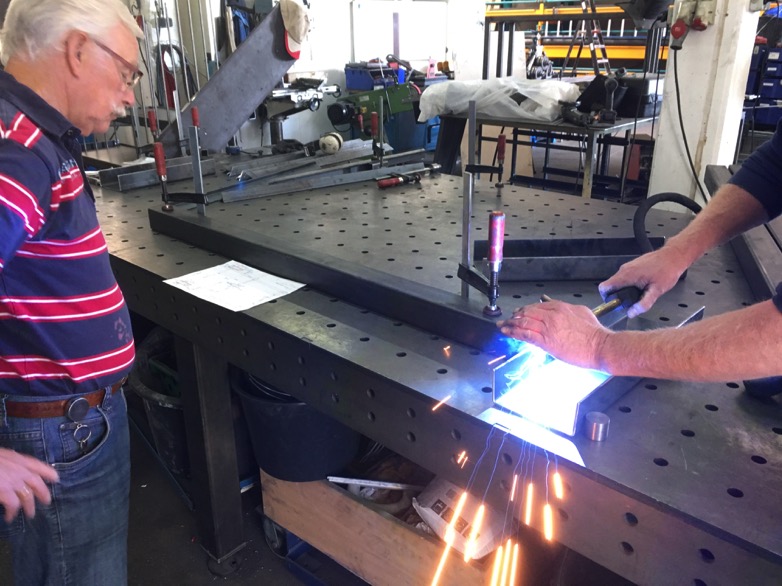
At the shop of a friend we produced the parts of the elevator. Thanks Jeroen. see meerstaal BV


This table works perfect, the whole design stays straight and it is easy to set at 90 degr while welding.
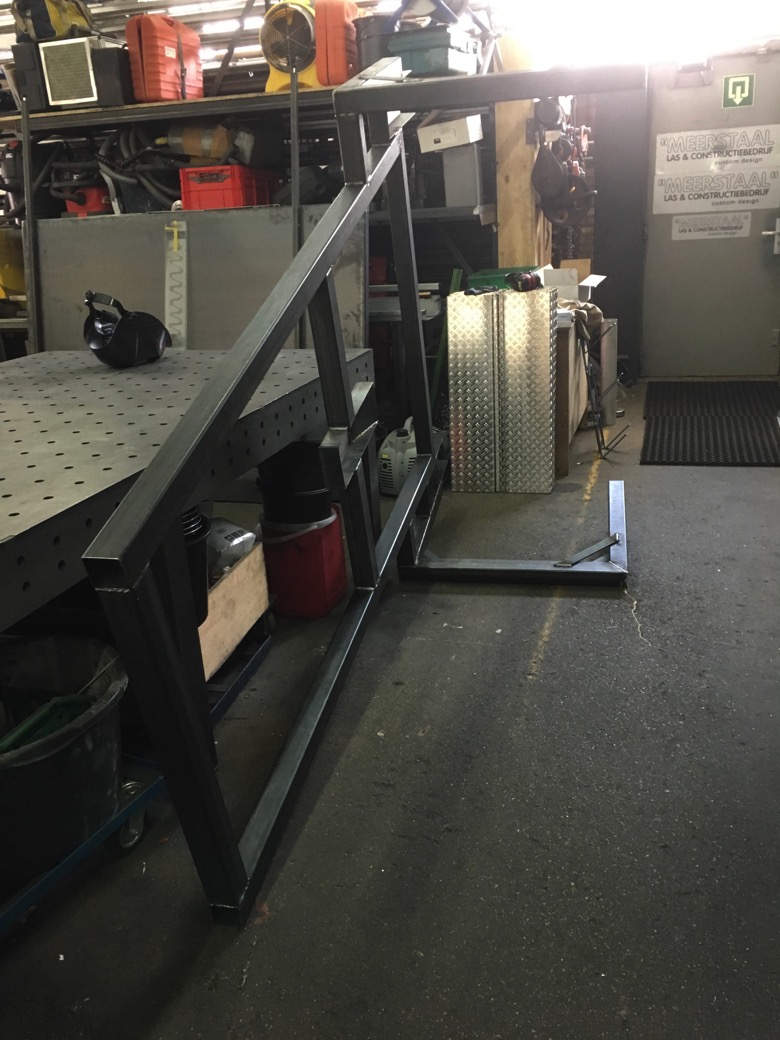
Finished, The rest will be done at home.
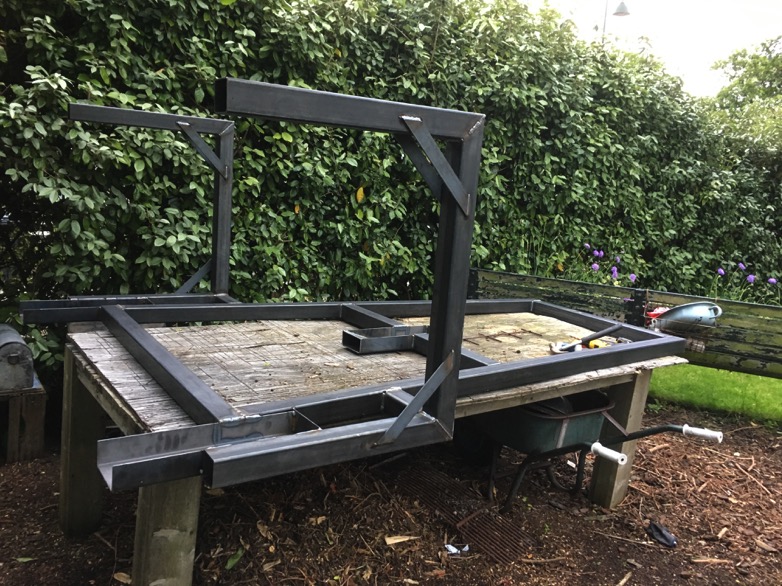

Ready to go to the airport.

This is the basic for the hoisting cables.

To get the plane as high as possible (to get more ground clearance for the plane below) we use a big steel beam that we clamp to the roof / floor profiles.
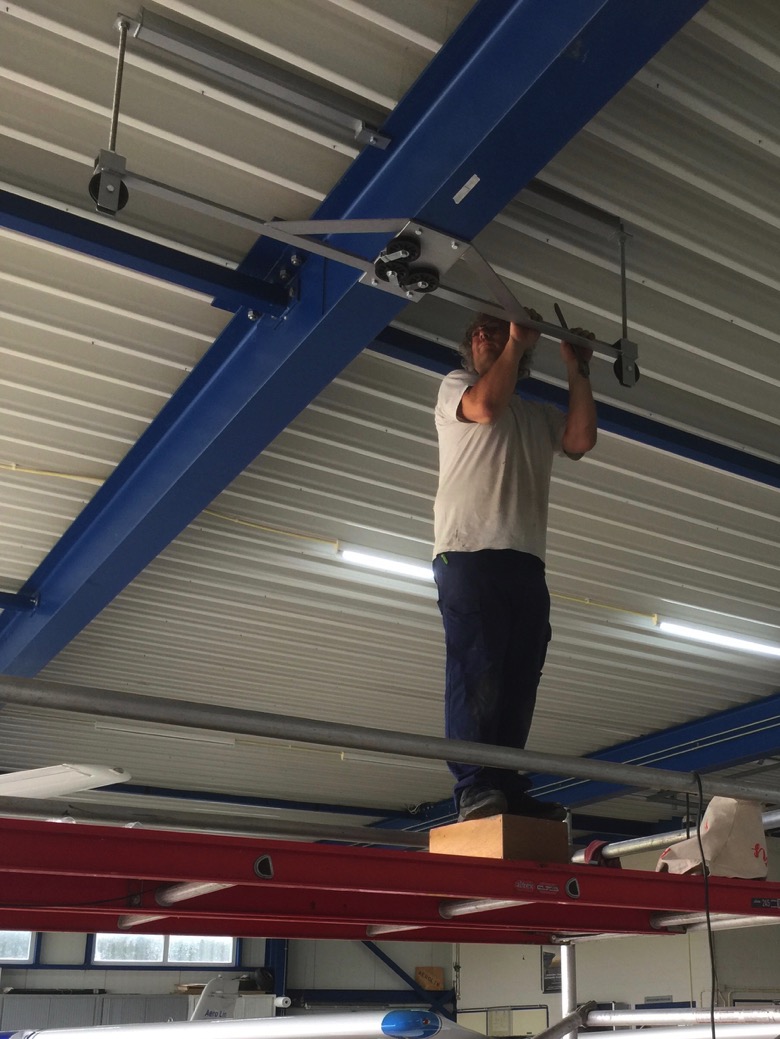
Threaded rods will connect the upper beam to the lower.

Steel cable installation.

All wires goes to the connection plate, that has one wheel. The electrical motor has now the force 1:2.

We made a big platform to leave some tooling and some other private stuff.
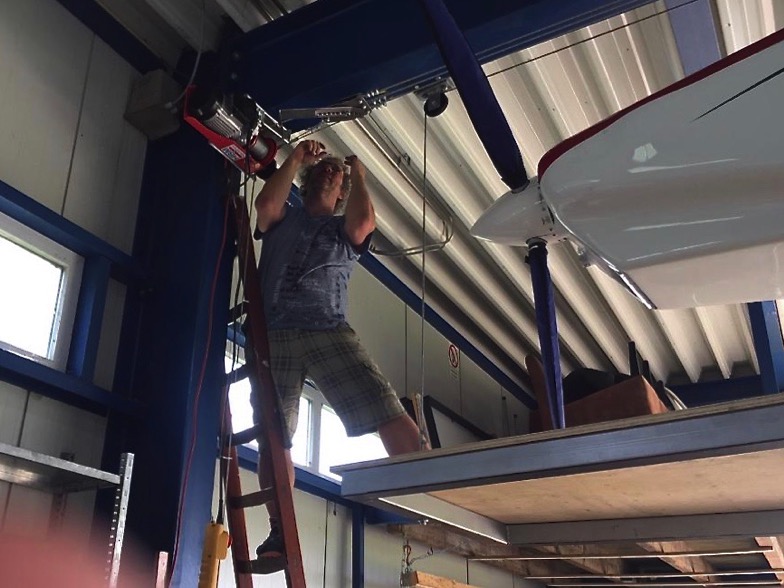
We made an endstop, so we have to adjust the hight stop for the plane.

This is the final height.

Final result. See the video for action.
Back to home