Painting the outerwings.
Finally we started to finish the wings.... We hate sanding!
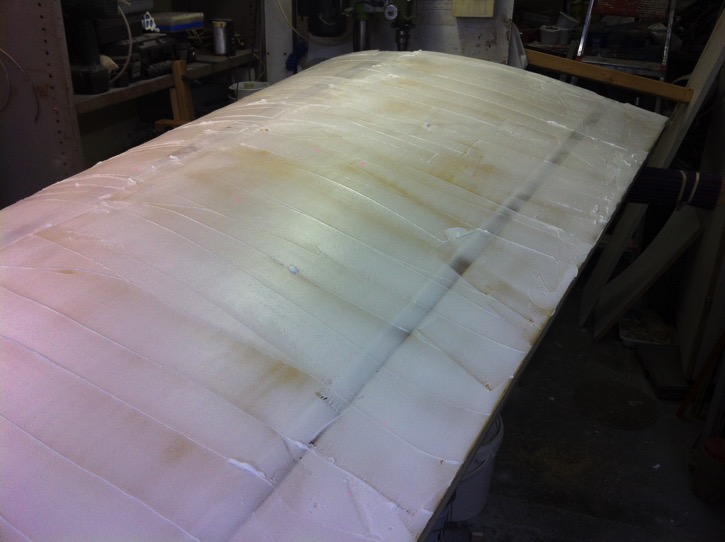
First we made a very nice and smooth contour with micro balloons. Sanded it with grit 40.

After finishing the micro we put one layer of normal heavy car filler. Sanded it with grit 80

When the heave car filler was finished, we took spay filler and ended that with grit 220.
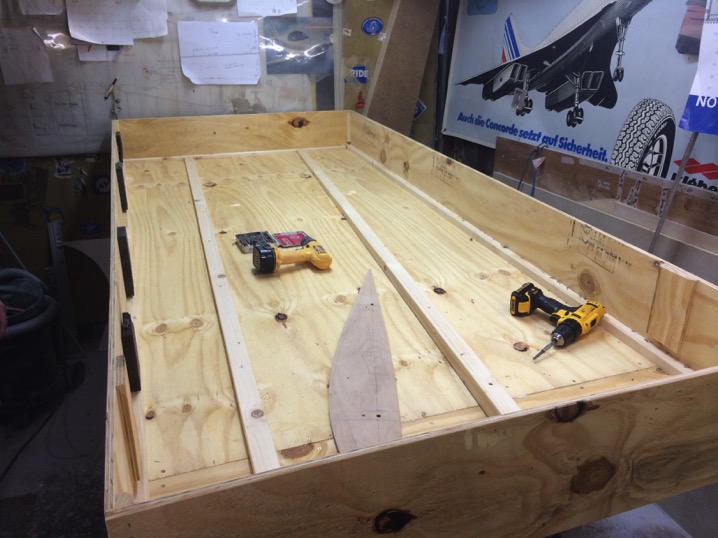
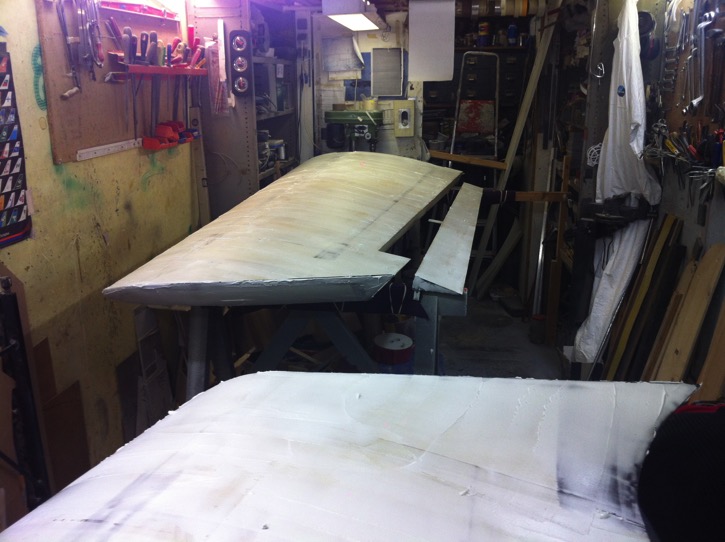
To prevent damage we made 2 big boxes. 2 pines in it. One is tapered, this is where the aft spar will be supported.
On the front side we glued foam.

At the w.a.f side we installed a wooden blok, so the wing is fixed ( front aft movement) in the box. We did the same
to the aft spar side.

On the wooden blocks we installed aluminum plates. Now the wing is fixed for up and down.

On the wingtip side we made a frame with 4 fixation points. Now we only have to loosen the 3 quick fasteners,
remove the frame and the wing can be removed from the box.
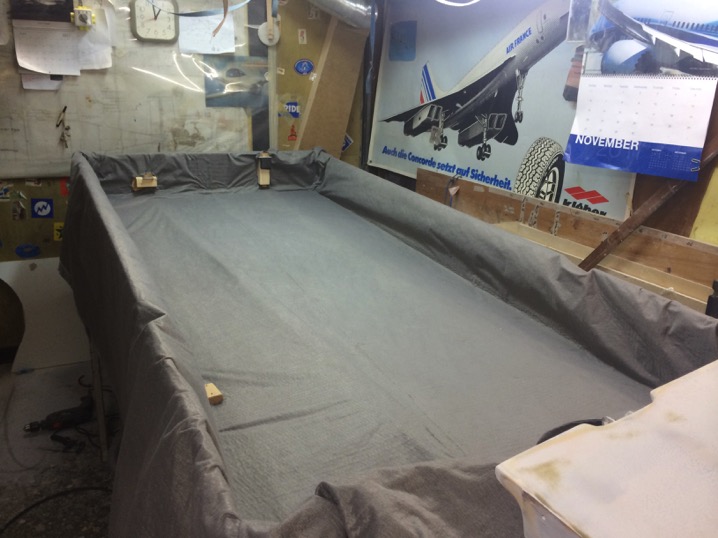
After glued some rubber on the 2 pines, tacked a very soft cloth to protect the wing.
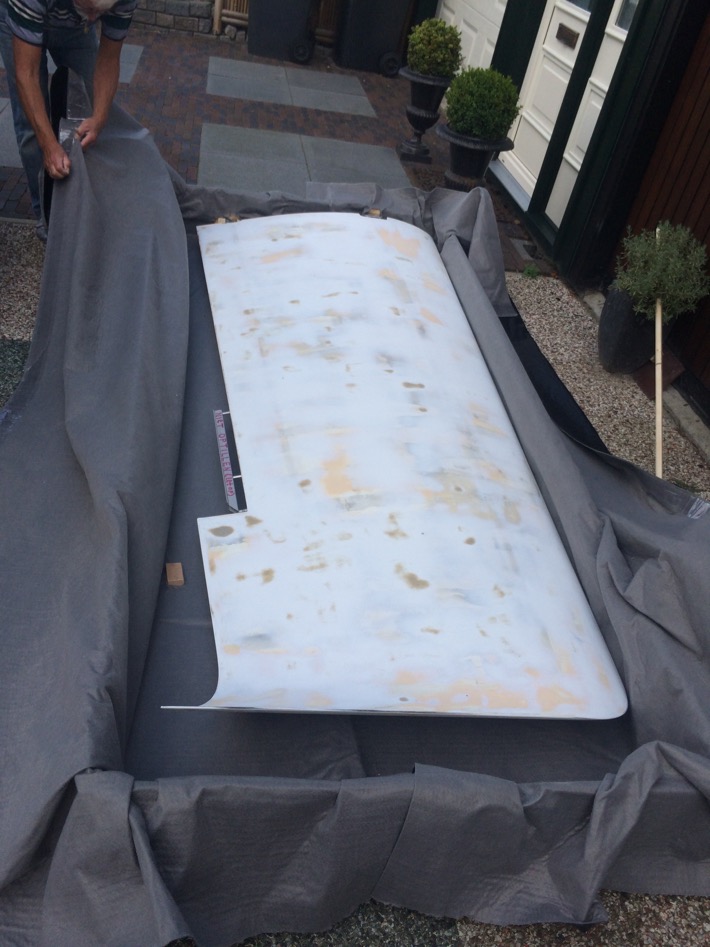
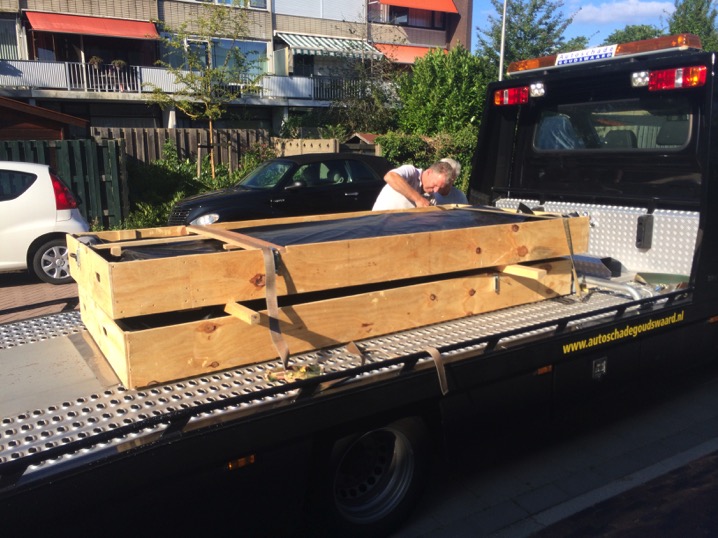
So now we are ready to go to the paint shop.

Special thanks to a friend (Perry S), he is a car painter and he helped us to spray the primer, later-on the whole
wing is sanded with grit 800.
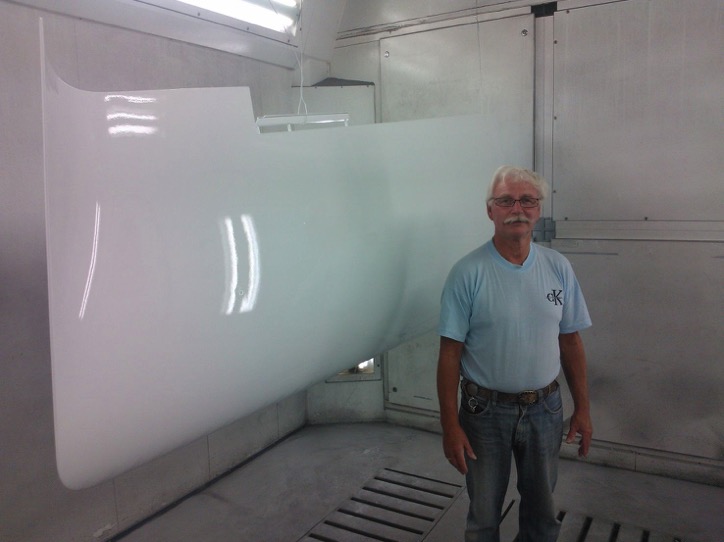
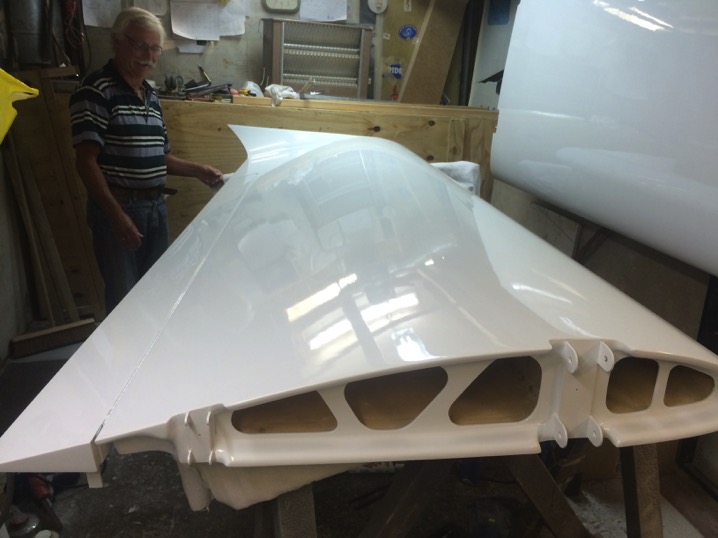
The final layer. A very proud Ted with one big smile from ear to ear.


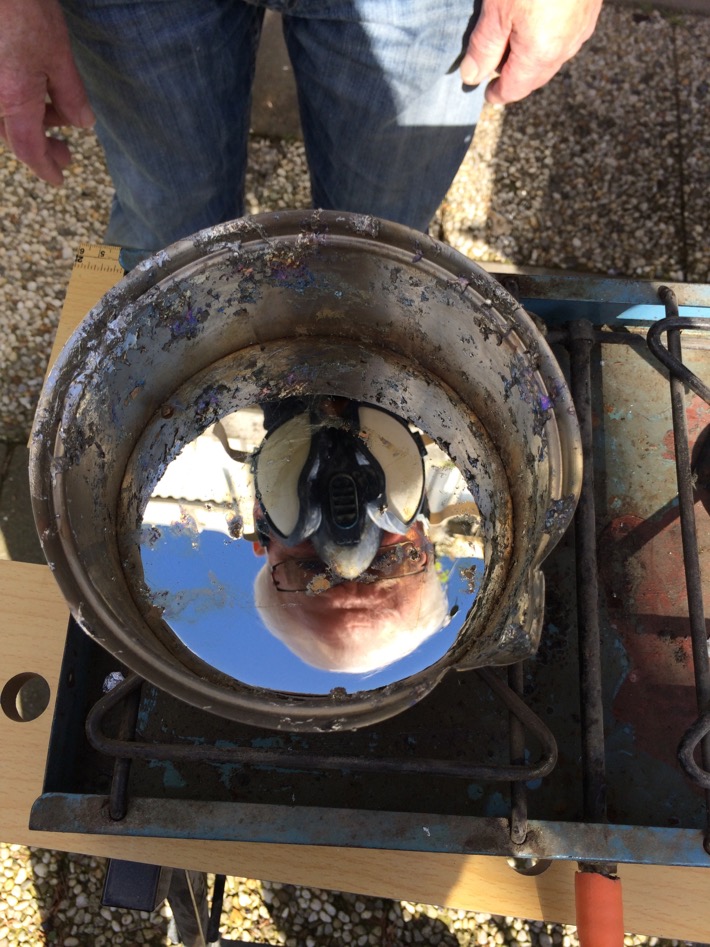
Balance blocks

To balance the ailerons we used som old lead. Very strange materiall if it is melted. With a spoon you can remove all the dirt.
Looking like a mirror, ready to put it into the mold.

We used the paper cardboard methode, but used two plates to make the lead oval.
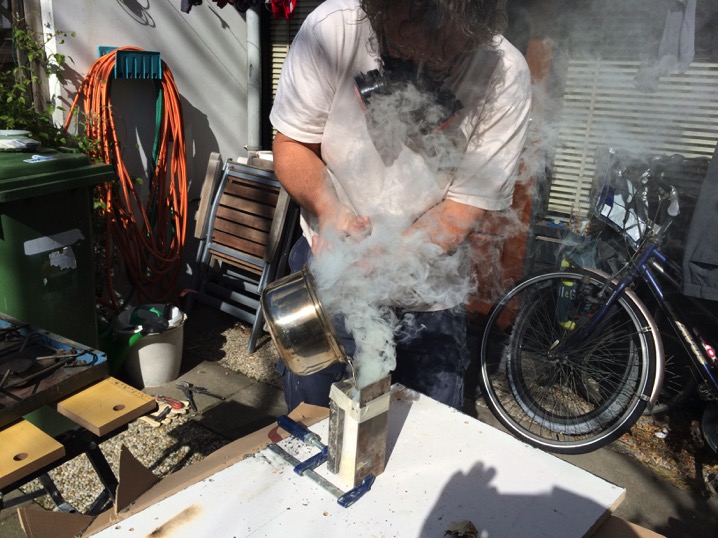
A lot of smoke but no fire.

Starting to look like a balance block.
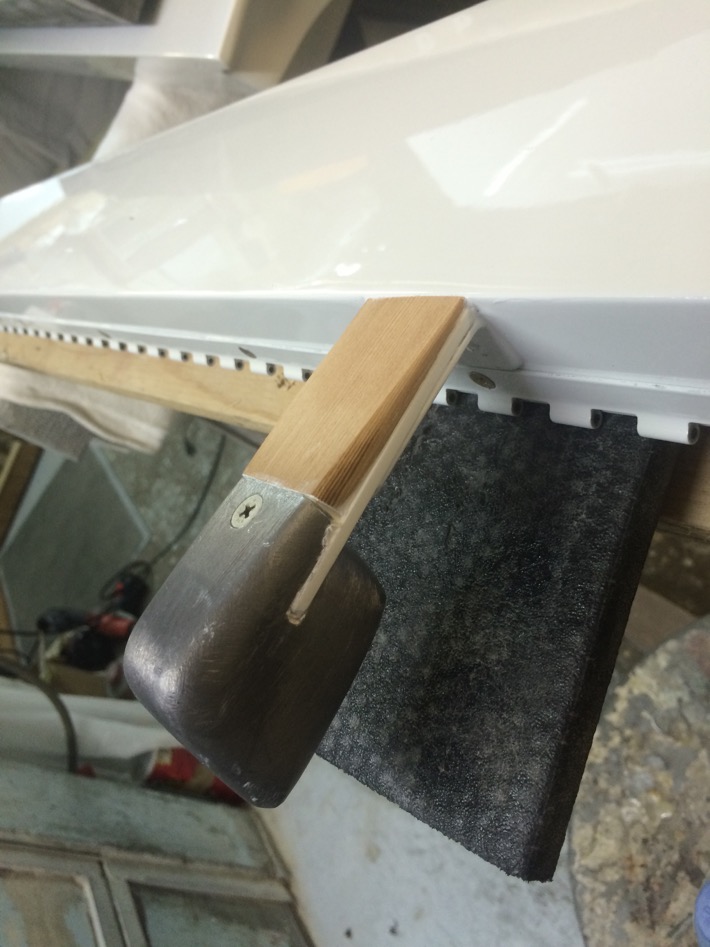
It is hard to see, but we made a small modification to the balance horn after a discusion on the KRnet. We riveted
a extra angle to give the horn more support.

We do not have the fuselage at home. So we went to the fuselage, set the fuselage waterlevel, made a mold at the
w.a.f...now we can start with the balancing the ailerons.


Made a fairing.
Finished


Back to home